

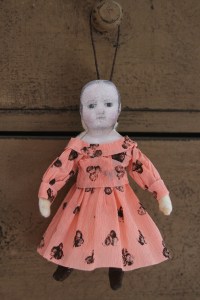
This is an ornament that I’ve been thinking about making for some time. I’m sure you know how it goes, you are right in the middle of working on some other project, your hands busily doing some mindless, automatic pilot part of the process, your thoughts wandering all over the known universe. When, pop, suddenly you have a great idea!
This usually leads rather rapidly to the realization that you would really rather stop what you are working on so that you can immediately begin on your bright, shiny, new project. Then you give yourself a stern talking to, summon up all of your work ethic and guilt feelings, and continue on with what you were originally doing. Hopefully you remember your excellent idea and eventually get to make it a reality. Today is the day I decided to finally work on this particular bright, shiny bit of imagination.
I think the main forces that caused my thoughts to stray to this ornament were my plans for this Izannah doll making blog and a second blog that I have planned – to provide support for my spun cotton ornament classes. Thinking about project ideas for both blogs just led naturally to the idea for this project – one that combines both an Izannah Walker doll and a spun cotton ornament. I’ve worked in a couple of new embellishment ideas that I hope all of you spun cotton artists will find interesting.
Basic instructions and material lists for making spun cotton ornaments are provided in my regular in-person and by-mail classes. You are welcome to use the instructions below for your own personal use, but please do not use them for any commercial purposes. This means that you can’t sell items made with these instructions, patterns containing them, use them in teaching a class, or for any other money-making reason. You can however make as many as you want for yourself or to give away to your fortunate family and friends, if you can bear to part with your new ornaments.
- Cut a 9-½ inch long piece of wire for your body armature (which you will bend in half).Cut a 4-1/4 inch piece wire for the arms.Assemble the armature and proceed to make a standard spun cotton figure.I lightly sprayed mine with tea, as per the instructions given in class.
- Take a clear photograph of the face and shoulders of an Izannah Walker doll.Resize the image so that the face measures approximately 7/8 of an inch high. Print the re-sized image either in color or sepia on white card stock.Make sure you use the highest quality print setting available. Carefully cut out around the face and shoulder plate so that you have the equivalent of a lithographed paper scrap. Alternate ideas are to draw or paint your doll’s head, or to use the photograph of any young child, either old or new, that you would like. Sepia-toned prints may be hand-colored in the eyes, lips and checks.
 If you plan to hang your ornament, run a short length of floss, ribbon, or string through the top of the head. I used waxed twine. See class instructions for details.
- Mix brown acrylic paint with water in equal parts. My color choice was burnt umber. Paint the back of your figure’s head. Next paint on classic Izannah boots. Let dry.
 Cut white crepe paper 1-½ x 8 inches to form a petticoat. Glue in place.
- Cut colored crepe paper 1-¾ x 9 inches for skirt. Cut out bodice, sleeve and waistband pieces using the pattern given here, for the yellow dress, as a guide. Dress pieces for the pink dress mimic those in my Izannah Walker Doll Clothes Pattern. You may need to make adjustments to fit your figure as you go along.

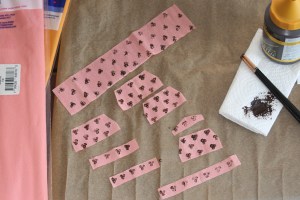
- For trim like the yellow dress shown here, glue thin bands of 1/8 inch wide black ribbon along the lower edges of the skirt and sleeves. Let the glue dry completely before attaching the clothing to your Izannah ornament.
- If you prefer the all-over print like that in the pink dress, gather together three paint brushes with the same size handles, and rubber band them tightly together so that the ends of the handles form a triangle of dots. Dip the ends of the handles in undiluted acrylic paint, wipe the excess off on a paper towel, and then use the tips of the handle like a stamp to create an evenly-spaced pattern on the crepe paper for your dress. I suggest practicing first before you work on the actual dress pieces. Let the paint dry thoroughly before attaching the clothing to your Izannah ornament.
- Glue clothing to ornament per instructions given in class.
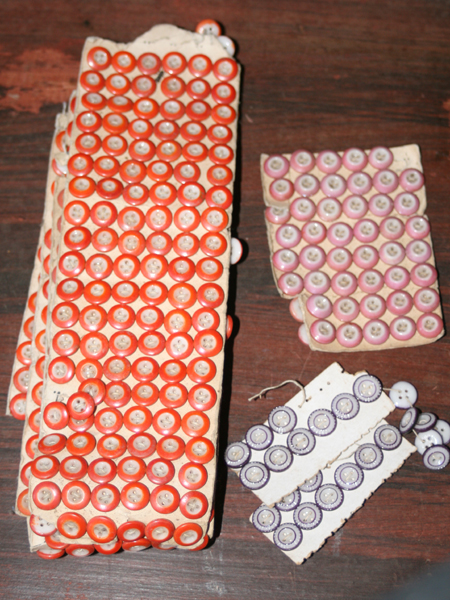
- If you would like, you may embellish the back of the dress bodice with tiny vintage buttons.
- Sign and date your ornament. Hang her somewhere that makes you smile.Enjoy!
- Visit my other blog www.spuncottonornaments.com for additional spun cotton ornament information.
If glue and paper aren’t your mediums of choice, I have listed two of these ornaments on eBay. They are also for sale on my website, Paula Walton’s A Sweet Remembrance.
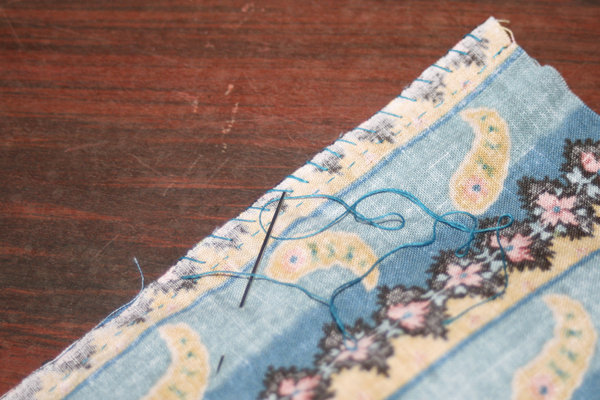 Method one is to overcast your seam allowances by hand using a single strand of thread.
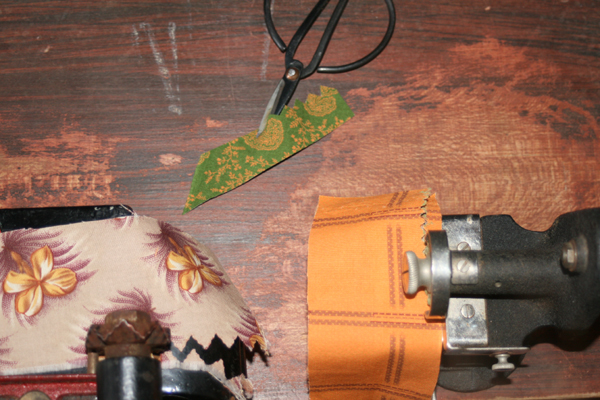 A second method is to pink your seams.
 Izannah Walker Journal