


Email me at paula@asweetremembrance if you are interested in buying a doll or have questions. The dolls are also on my website, www.asweetremembrance.com, where you may use the secure automated check out. Payment by Master Card, Visa, Paypal, personal checks, or lay-away. Free insured shipping to any US address, exact postage to other countries. 6.35 % sales tax on items shipped to CT. 
Ismay SOLD


Click on any photo to enlarge
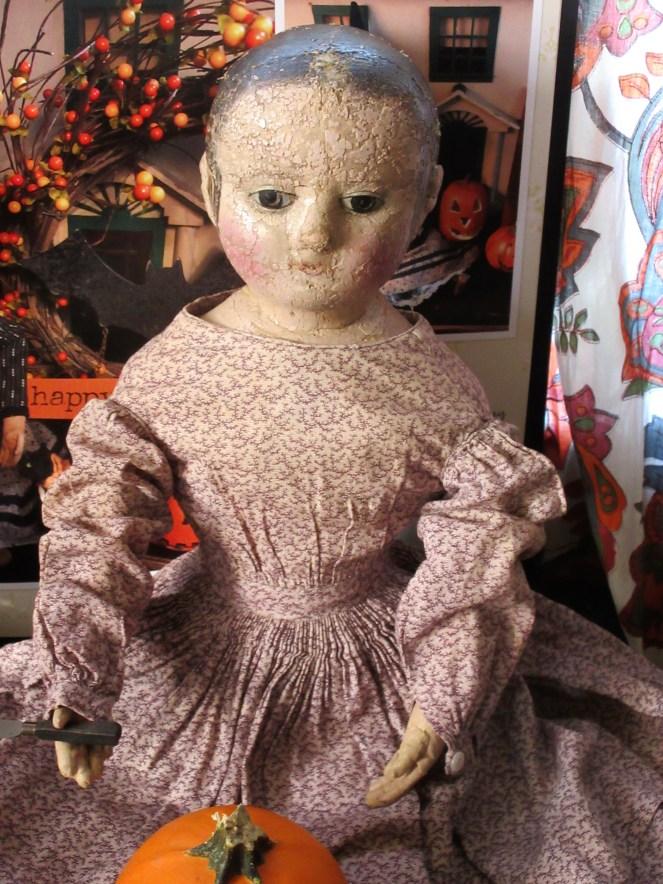
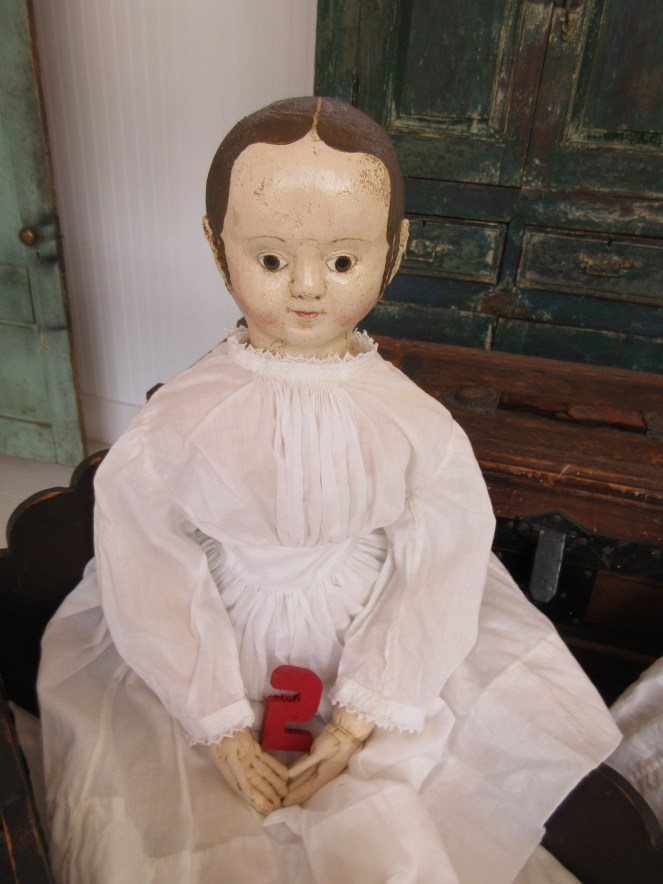
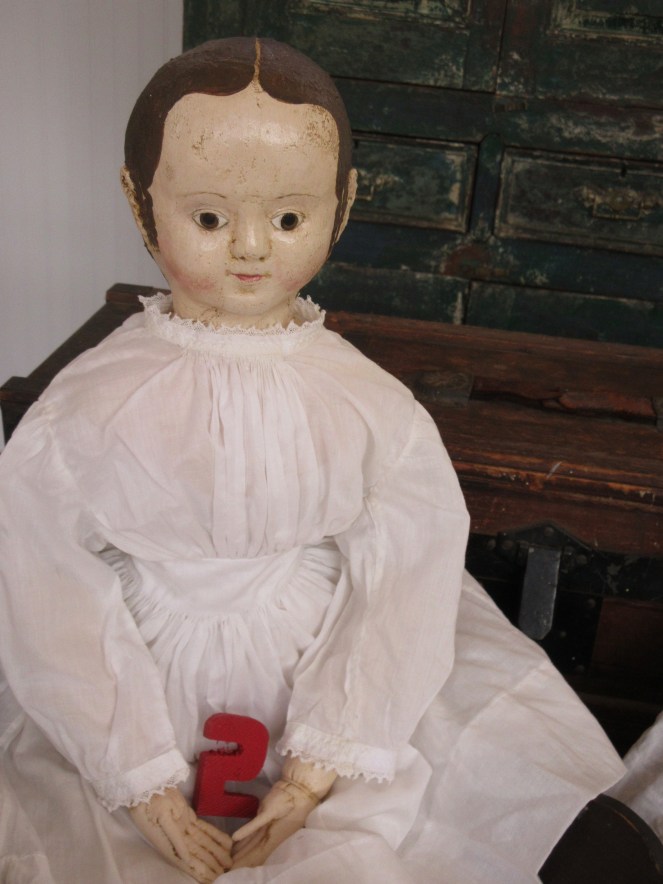
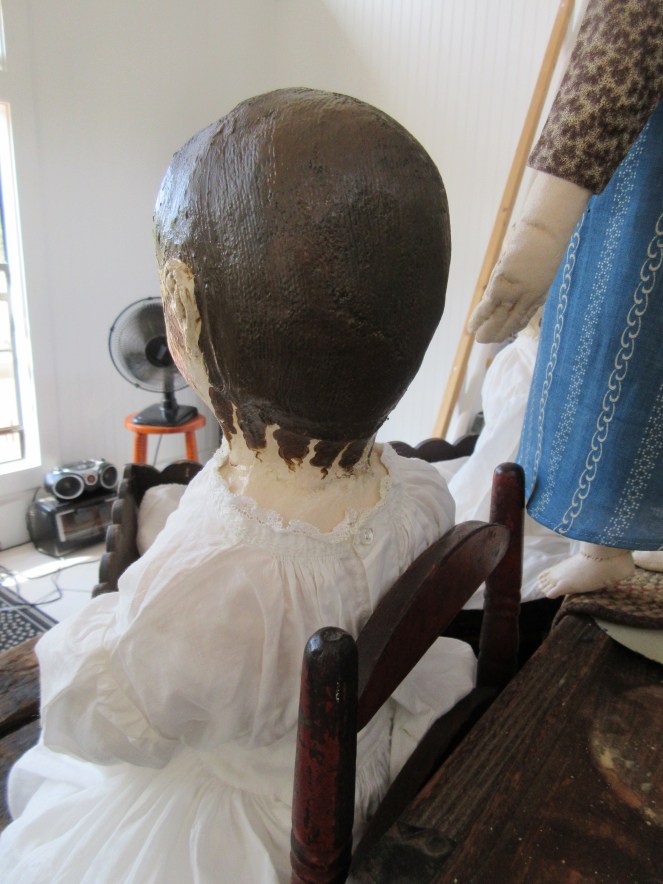
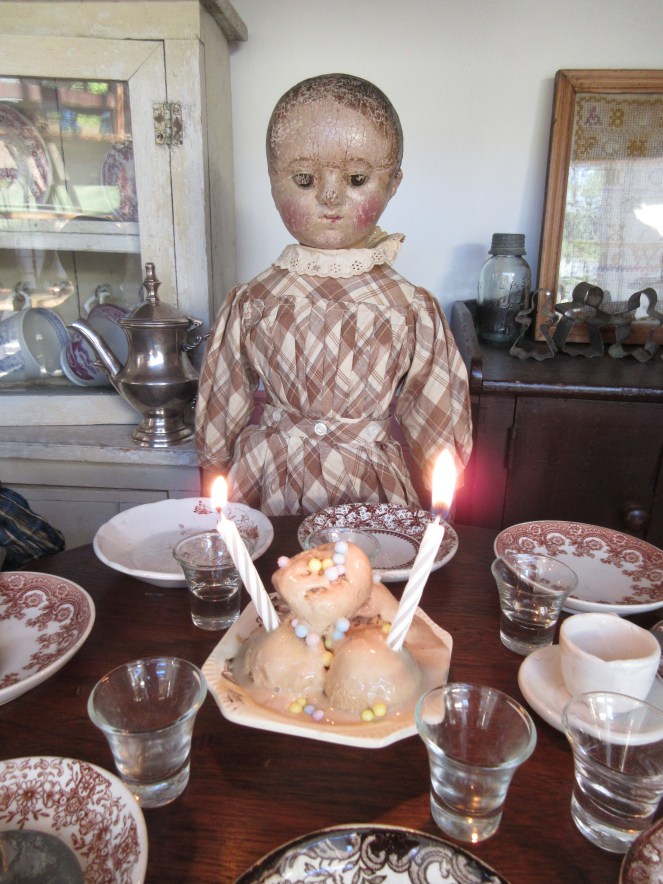
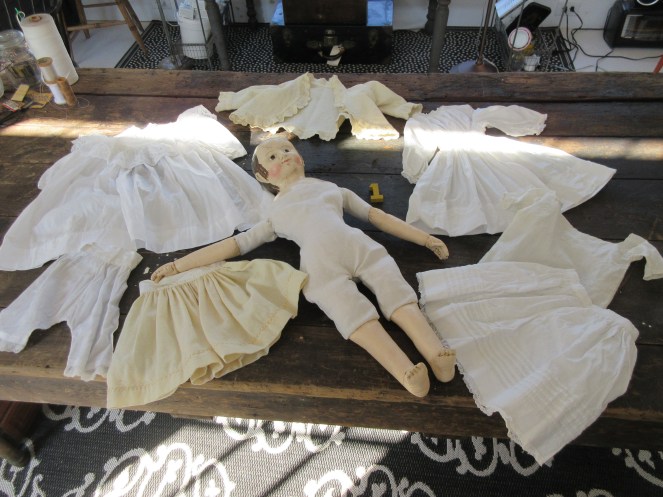
SOLD This Ismay is 18.5 inches tall, she has painted boots a full set of undergarments and is wearing a dress made of antique fabric with a falling leaf print – just perfect for Thanksgiving. She also has an antique pin and a hand strung coral bead necklace. $1275.00.
Lizzybit BOTH SOLD


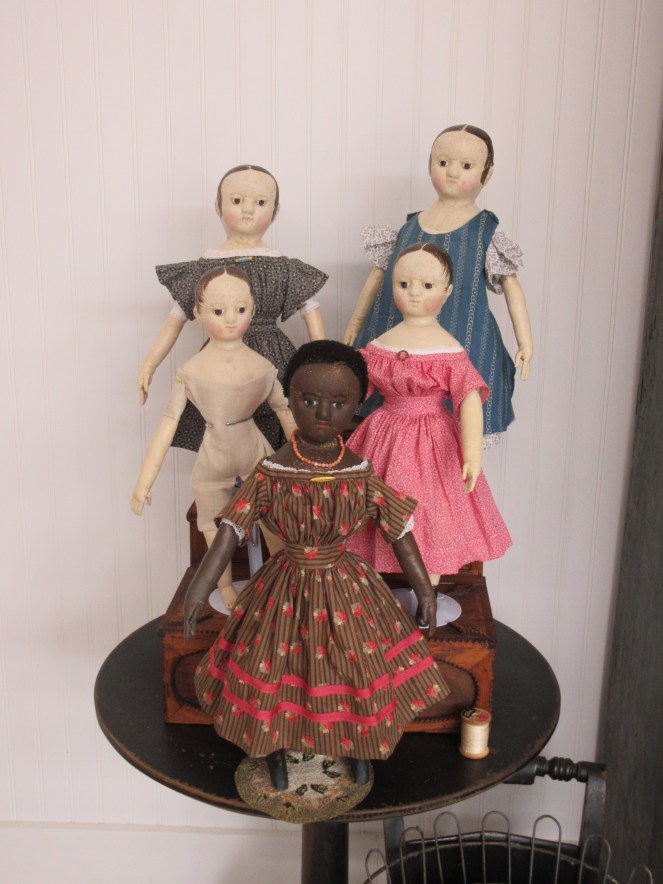
SOLD Lizzybit is made from my newest mold, taken directly from a small 17 inch antique Izannah Walker doll. I have one dressed 17 inch tall Lizzybit that has painted boots, a chemise, pantalettes, a wool petticoat and a dress made from a antique double pink cotton print. She is also wearing an antique pin. $1265.00 http://asweetremembrance.com/item_217/Lizzybit-A-Reproduction-Izannah-Walker-Doll.htm


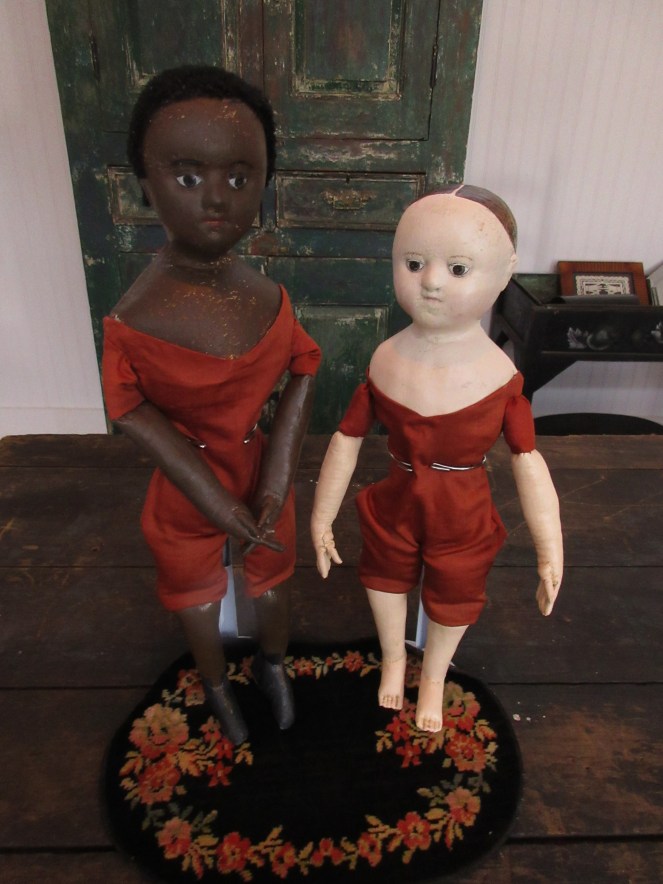
SOLD The undressed Lizzybit is 16 inches tall with bare feet. She is $1050.00 nude or would be $1350.00 fully dressed including shoes.
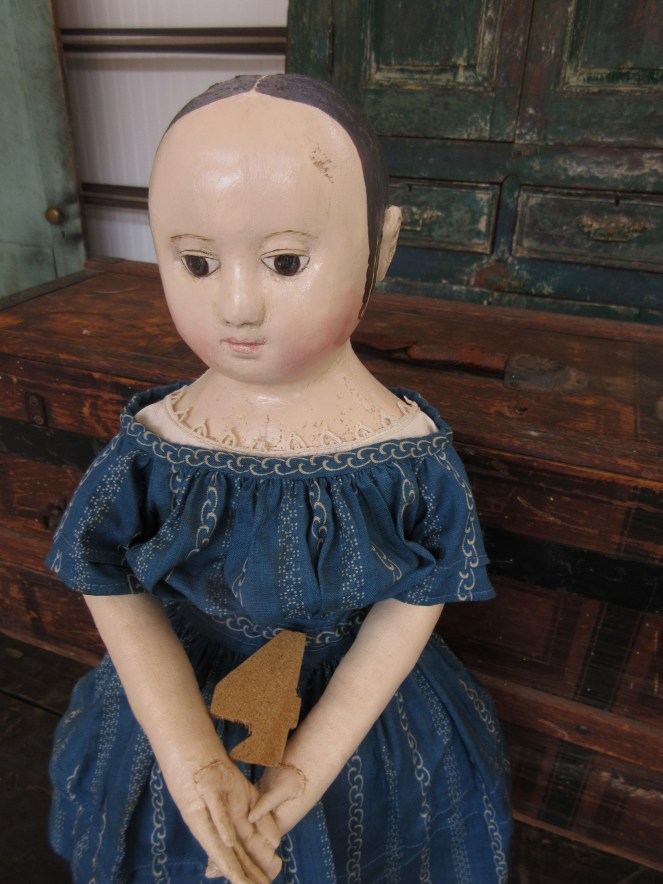
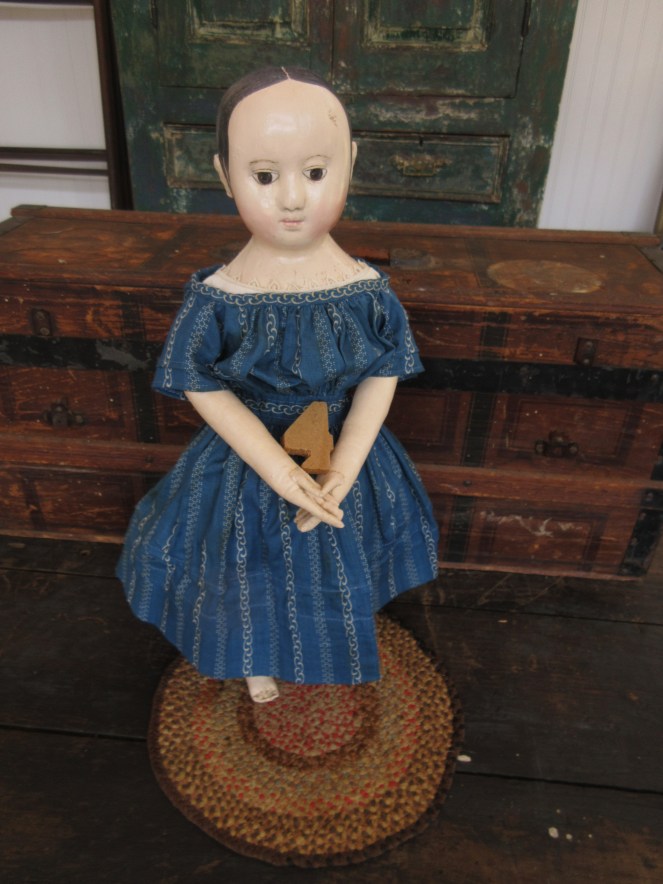
Isabeau – 19 inch Isabeau is SOLD


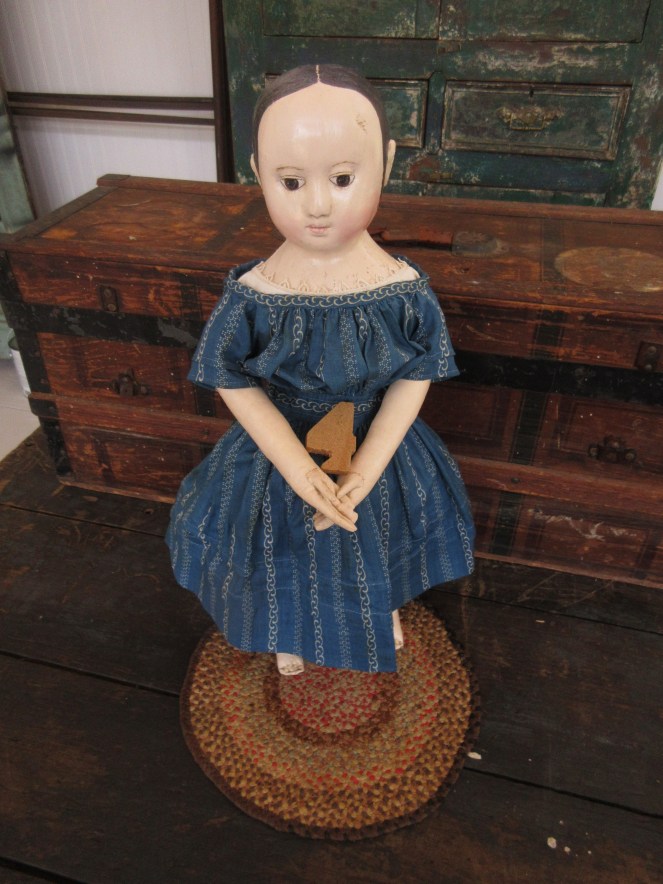
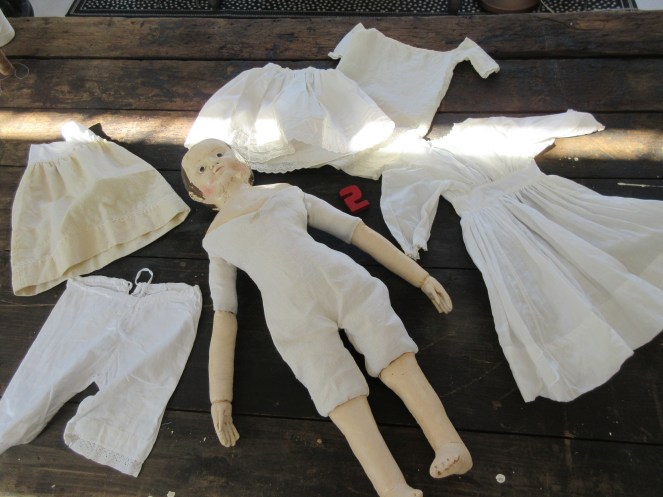
SOLD Two Isabeaus! SOLD One is 19 inches tall with painted boots, a full set of undergarments, which include a chemise long enough to do double duty as a nightgown and a wool petticoat. Her dress is made from antique fabric and has 3 rows of growth tucks in the skirt with additional tucks in the sleeves. Her pin is a new reproduction. $1265.00 http://asweetremembrance.com/item_215/Isabeau-19-in.-A-Reproduction-Izannah-Walker-Doll.htm
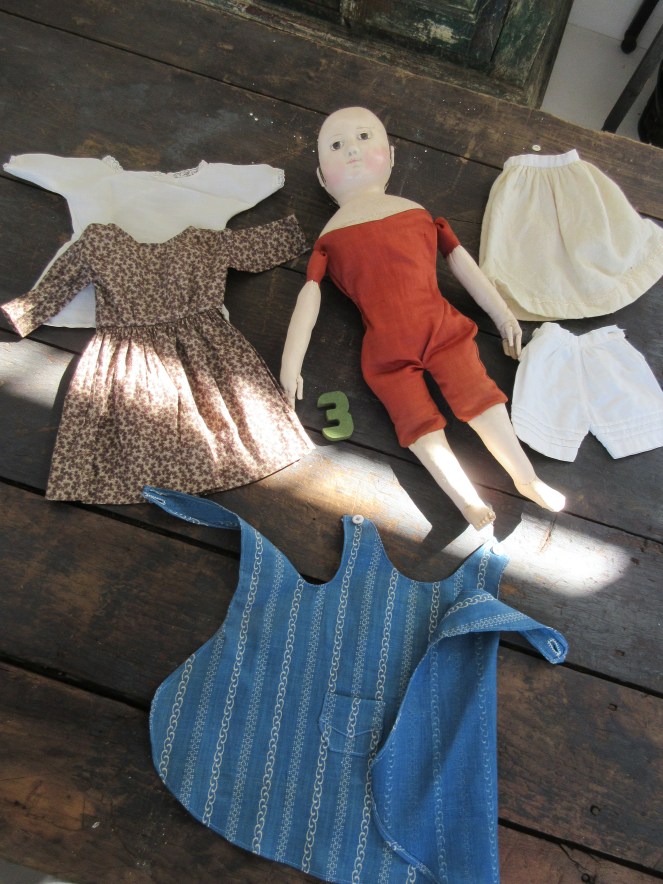
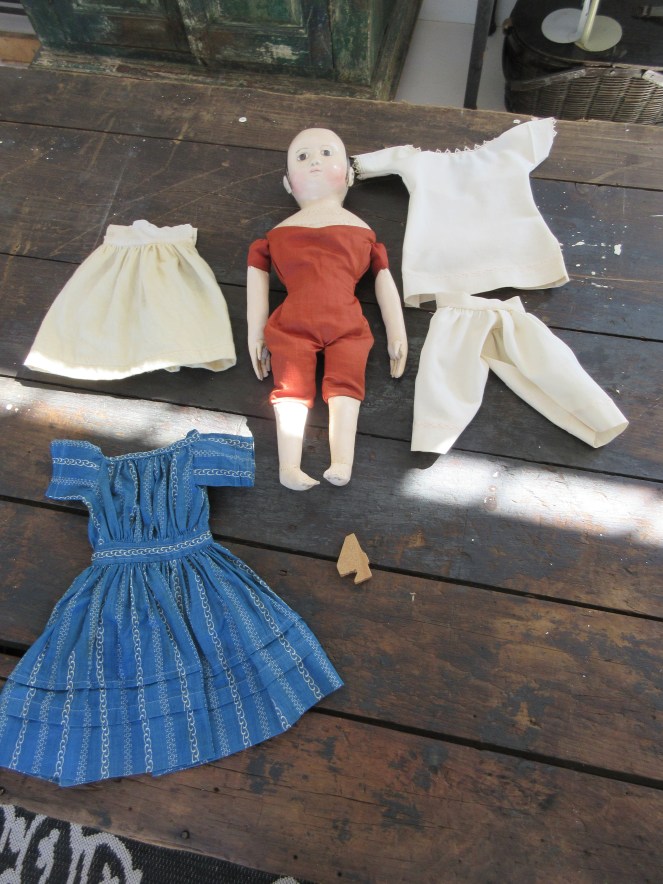
SOLD The second Isabeau is 17 inches tall, she has bare feet, blue leather shoes, a dress with one growth tuck, a full set of underpinnings which include antique pantalettes. Her antique pin is hand painted with blue flowers. $1370.00 http://asweetremembrance.com/item_184/Isabeau-17-in.-A-Reproduction-Izannah-Walker-Doll.htm
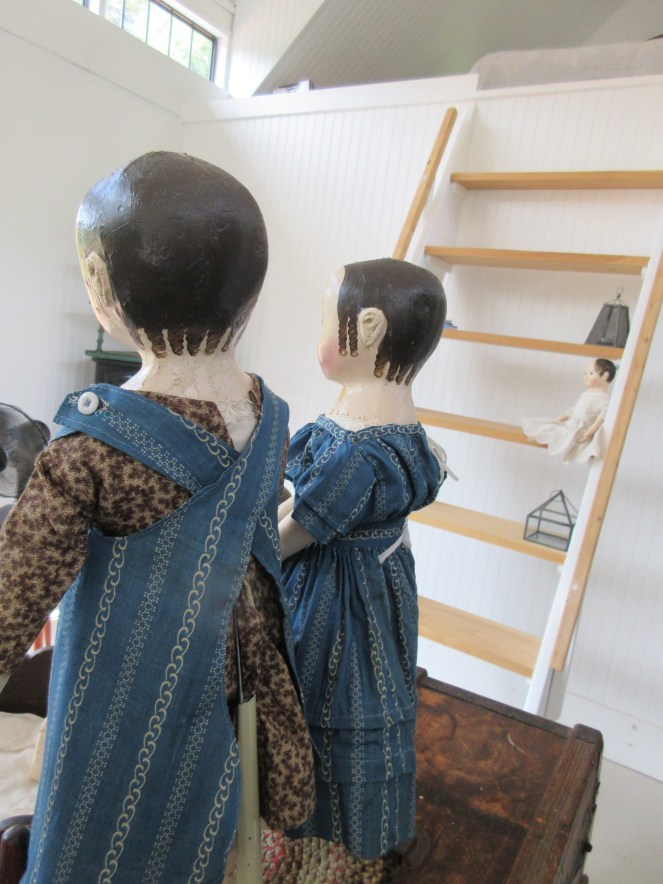
The girls may be purchased as a pair, as they make a charming set of sisters ❤ The blue apron is available for sale $100.00. Apron is SOLD.
Thank you for coming to visit! ❤


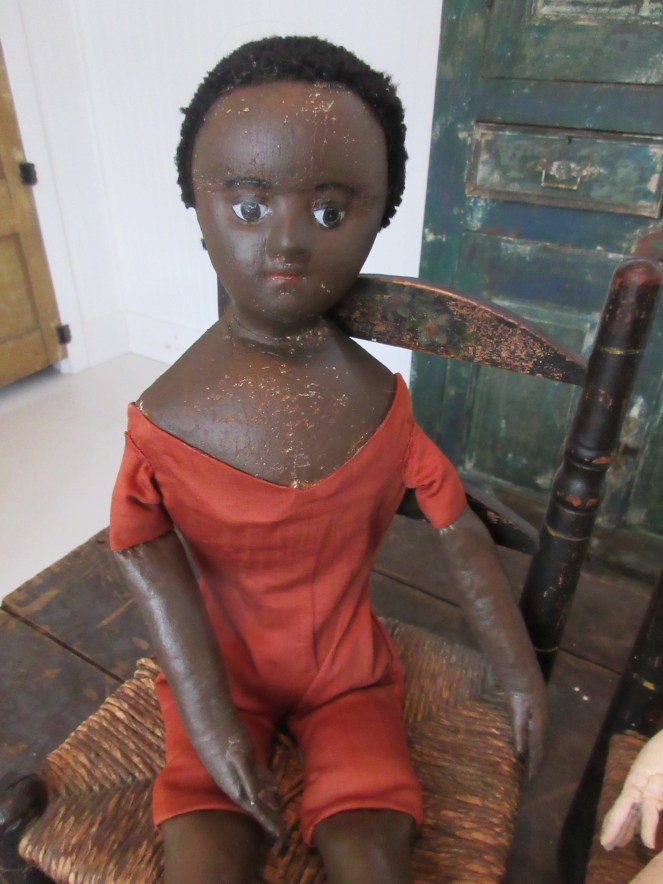
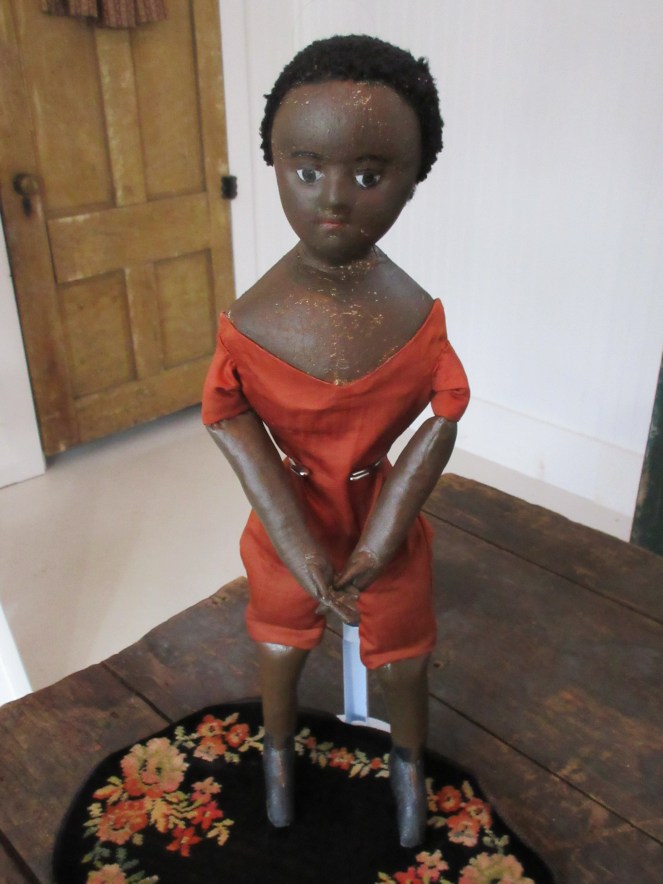 Ismay – $1000.00 –


Step 2. Cutting out the bodice, sleeves, neck, sleeve and waist bands.
Measure the distance between the point on your doll where you want the top of the waistband to be and the point where you would like the neckline. I find that the measurement is usually about 3 inches. Add two 1/4 inch seam allowances, one for the top edge and another for the bottom edge (if you feel more comfortable sewing with a 1/2 inch seam allowance you may increase the bottom allowance to 1/2 inch – the top seam allowance has to be 1/4 inch). To determine how wide, from side to side,your bodice needs to be, measure around the widest point of your doll’s shoulders and multiply that measurement by 2. This will be the minimum width, you may add on a bit more if you like particularly full bodices.
To cut out the sleeves, measure from the neckline, down the arm to the length you would like the sleeves. The width of each sleeve is calculated by measuring from the neckline, down under the arm and back up to the neckline, then adding on enough to bring the fabric up over the shoulder and add in extra fullness for the gathers. The strip of fabric that I cut for the sleeves of the sample dress, above, was greater from top to bottom than the strip for the bodice.
Neck and sleeve bands are 1 inch by the total shoulder measurement of the doll (at the widest point), plus the circumference of the doll’s upper arm x 2, plus at least 2 inches for seam allowances and finishing.
The waistband is 1-1/4 inch for 1/4 waist seam allowances or 1 – 3/4 inches for 1/2 inch waist seam allowances by twice the doll’s waist measurement, plus an extra 1 – 1/2 inch for seam allowances and finishing.
Double check your measurements and addition, then cut out your fabric.
Step 3. Constructing the skirt.
Sew the center back seam of the skirt, leaving 3-4 inches open at the top edge. Turn the raw edges of the center back skirt opening under a scant 1/4 twice and sew down. Sew a double row of gathering threads around the top edge. Press the back seam to one side: turn up the raw bottom edge 1/4 inch and press. Decide on the placement of your growth tuck or tucks (if you are incorporating them in your dress). Measure for the first tuck, fold the skirt at that point and pin in place. Stitch around the skirt either 1/2 inch or 3/4 of an inch away from the folded edge (remember that you had to choose between 1/2 inch and 3/4 inch tucks when you cut out your skirt). Press the tuck down. Make the second tuck in the same manner. Turn up the hem and stitch in place, being careful not to catch the tucks in the hem.
Step 4. Making the bodice.
Take the strip of fabric that you cut for the bodice, fold it in half at the center front, then fold it in half a second time to determine where the arm holes will be. Cut “U” shaped armholes on the second fold, through all thicknesses, starting at the neckline edge and going about half way down to the waist edge.
You can check exactly how far you need to go by measuring the fabric strip up against the shoulder of your doll. The arm hole should be deep enough to allow the sewn on arm to move freely.
Turn under the center back edges of the bodice a scant 1/4 inch to the wrong side of the fabric. Press in place. Turn under again 1/2 inch towards the back side. Stitch in place to hem.
Next take the strip of fabric that you cut for the sleeves. If you haven’t already done so, cut it in half, so that you have two equal parts – one for each sleeve. Sew the short ends of the sleeve together to form a tube. Repeat for the second sleeve.
Sew two rows of gathering threads around the bottom edge of each sleeve.
Sew one sleeve to the bodice, matching the sleeve seam to the center of the bottom rounded part of the “U”. Repeat with the the second sleeve. The top of the sleeve goes up past the neckline edge of the bodice. Not all of the sleeve is sewn to the armhole!!!
Sew two rows of gathering threads along the neckline edge, including the tops of the sleeves.
Sew two rows of gathering threads along the waist edge of the bodice.
Step 5. The waistband.
Cut the strip for the waistband in half, so that you have two pieces of equal length. Mark the center of the bodice waist edge and the center of one of your waistbands.
Draw up the gathering threads on the waist edge of the bodice to the exact measurement of your dolls waist and tie off. Adjust the gathers so that you have more fullness in the center front, less under the arms and more in the back. Leave an area of less full gathers 1/2 inch or so to either side of the center back opening.
Pin the center front of the bodice to the center front of the waistband. The waistband should extend 3/8th of an inch beyond the bodice on either side. Stitch the waistband to the bodice.
Mark the center front of the skirt waist edge. Draw up the gathering threads on the skirt to the exact waist measurement of the doll’s waist and tie off. Adjust gathers evenly. Pin the center front of the waistband to the center front of the skirt. Sew waistband/bodice to skirt (remembering that the center back edges of the waistband will extend beyond the skirt 3/8ths of an inch).
Turn the ends of the waistband to the inside, so that they are even with the hemmed center back edges of the bodice and skirt. Take your waistband lining and press the short ends under 3/8ths of an inch to the wrong side of the fabric and press under 1/4 inch along each long edge. Pin in place on the inside of the waistband of the dress, making sure the lining coves all of the raw edges and seams. Hand-stitch in place, leaving the center back edges open. Make a row of stitching 1/4 inch away from the seam lines along each long edge of the waistband (this is like topstitching). Run lengths of 1/8th inch wide cotton tape through the casings formed by this stitching. The tape should be long enough to tie into bows.
Step 6. Neck and sleeve bands.
Try the dress on your doll over her chemise.
Mark the center front of the bodice neck edge. Draw up the gathering threads at the neckline, so that the back of the dress meets and overlaps a scant 1/8th of an inch. Tie off the threads. Adjust gathers.
Draw up the gathering threads on each sleeve until they fit snugly, but not too tight around the doll’s arms. Tie off the gathering threads. Adjust the gathers.
Measure and cut a length of neckband the length of the gathered neckline plus 3/4 of an inch (3/8ths of an inch for finishing each side). Press under a scant 1/4 inch one long edge of the neckband. Mark the center of the neckband. Pin the center of the unturned edge of the neckband to the center front of the bodice neckline. Sew neckband to bodice, the neckband will extend 3/8th of an inch beyond the bodice on each side of the center back of the bodice. Turn the 3/8th inch finishing allowance in and finger press in place. Turn the pressed under edge of the neck band to the back side of the dress. Hand stitch in place, leaving the ends of the neckband open. Run a piece of 1/8th inch cotton tape through the casing formed by the neck band. The cotton tape should be long enough to tie into a bow.
Measure and cut two armbands the length of the bottom gathered edge of the sleeves plus 1/2 inch for seam allowances (1/4 inch seams). Turn under one long edge of each sleeve band a scant 1/4 inch towards the back side of the fabric. Stitch the narrow edges of the sleeve bands together. Hand-stitch each sleeve band, along the unpressed edge, to the the gathered lower edge of the sleeves. Turn the pressed under edge up to the back side of the sleeve so that it covers the gathered edge and hand-stitch in place to form 1/4 inch finished sleeve bands.
Hints.
-I like to wash and hang dry my finished dresses, so that the gathers fall into place and dry.
-If you wish to fasten the back of your dress with buttons, rather than ties, make sure that you add on enough of an allowance for the neck band and waistband to overlap at least 1/2 an inch.
-You can make several other sleeve styles for this dress to vary it’s appearance.
-To see a selection of appropriate fabrics check out these two blog posts.
My Current Stock of Antique Fabrics
Selecting Appropriate Fabric for Your Doll’s Dress
Don’t let the length of these instructions put you off! This is actually a simple dress 🙂 When I make this style of dress I don’t even jot down measurements or calculations. I just measure and cut as I go. After you make a few you will find them easy to do!